Basic Adobe Photoshop Tips | How To Create a Vignette in Photoshop
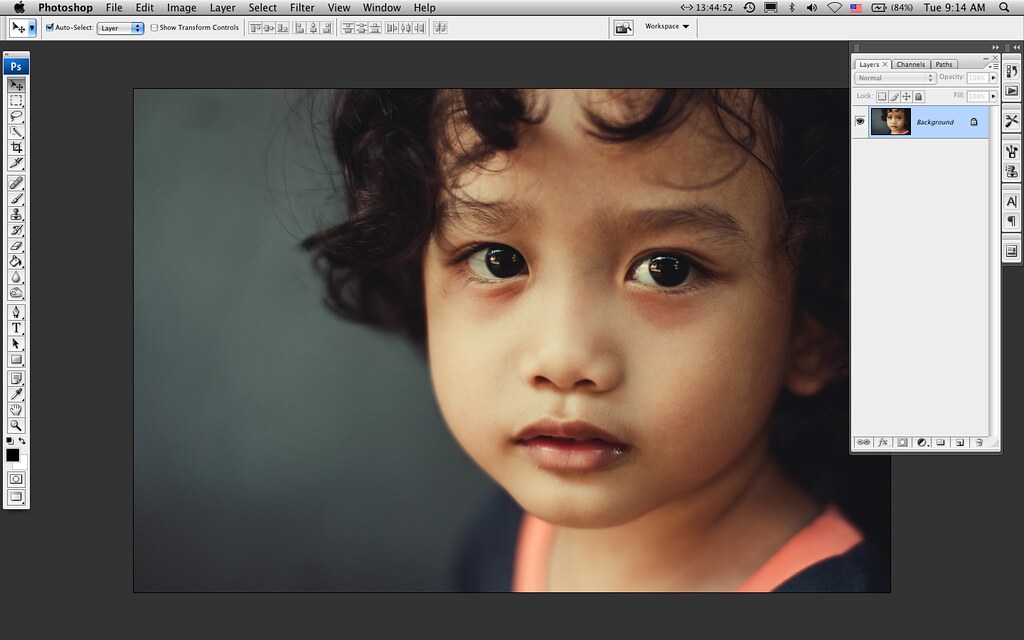
Step 1 : Open any picture in Photoshop, but usually vignette is the last process or final editing in Photoshop, so basically before you apply vignette effect, it is better for you to edit your picture until you satisfied before you proceed with vignetting.
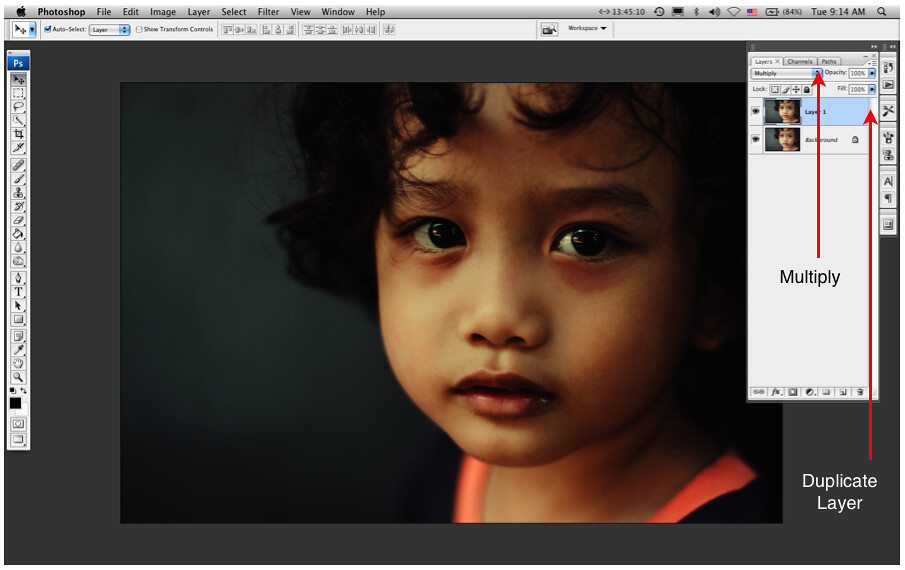
Step 2 : Duplicate the Layer ad set the Blending Option to “Multiply“. If you are using a Mac, just Click Command + J to duplicate and for PC user, just click Control + J to duplicate the layer.

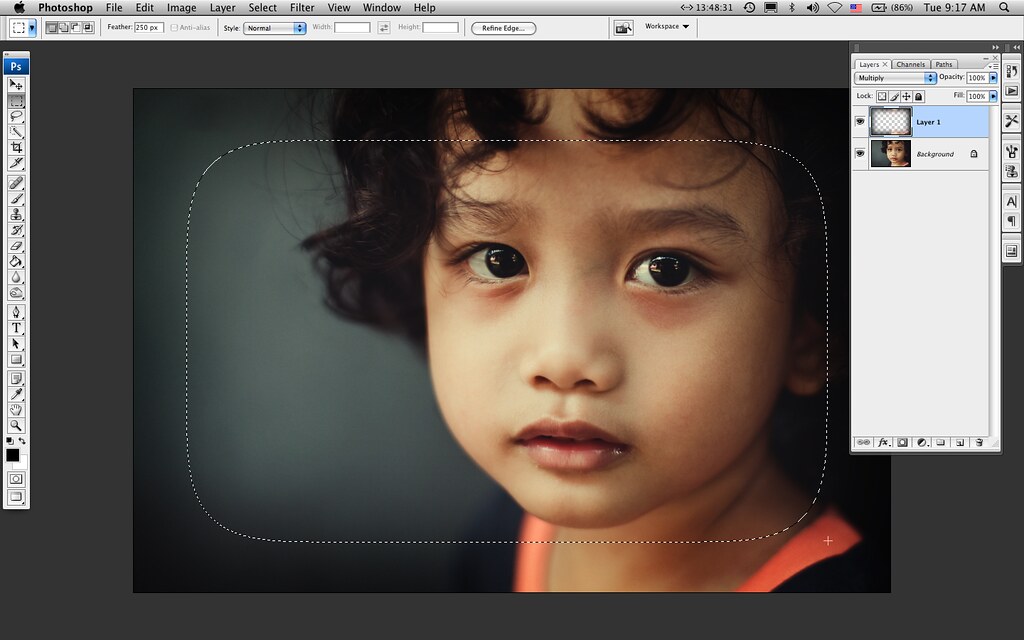
Step 3 : Select Rectangular Marquee tool for selection, and before proceed with the “Framing”, make sure you set the Feather like Step 2 in the picture to somewhere around 200 – 300, maybe more or less depending on your file size. Bigger file, just increase the number. After you adjust the “Feather”, then just create selection like the picture above.
Step 4 : Final Step, just hit a “Delete” key on your keyboard and you are done, you can click as many times the “Delete” key until you satisfied with the Vignetting and if for some reason you need to smoothen the Vignette further, just adjust the opacity of the top layer there, reduce the opacity and once you finished, just Flatten the layer.
People always said that there are many ways to skin a cat, and that was true. There are many ways to do vignetting in Photoshop, some are better than the other, basically the fastest one or the simplest one is the best for me.
Basically people do vignetting to darken certain part of the image so that the focus will be on brighter part of the picture, that’s the idea of the vignetting, to add more focus to where it matters the most, which in this case the face of my son.
You Might want to check this out : Backlighting Photography Tips

6 Comments
atanahmad
Salam,
Excellent tip. Tq
empty soul
great tip,wazari
Taufik
Thanks for sharing bro. To be honest, I never do this way before to get vignetting, always use layer mask & brush tool which can be painstaking work…hehe…As you said, there are so many ways to do a certain thing & I think this way is soooo much easier & simpler. Thanks again for teaching me something new. Appreciate it a lot =)
Wazari Wazir
@Taufik, you are right, the are many ways to get things done in Photoshop and I always try to find something that was easier and faster to get it right. Actually once we understand how to do this kind of Vignetting, it will only take less than a minute to do it, minus the whole editing process, I mean it will take less than a minute just to do the vignetting this way… 🙂
nazrey
bam,time kasih ajar wat vignette gne ps ni..slme ni sy gne yg preset kt photoscape n acdsee je….kalo senang2 share le pulak cmne nk wat watermark gne ps..hehe..trimas bam..
Wazari Wazir
@Nazrey, terima kasih datang singgah blog ni, insyaAllah kalau ada kelapangan nanti saya cuba buat topik tu, banyak cadangan yang saya terima, nanti saya mana nak buat dulu, keep on coming…