Basic Adobe Photoshop Tips | How To Make Your Own Photoshop Brush
Making your very own Photoshop Brush is very simple process actually, but for the benefit to those of you who are really well into Photoshop, I will show show step by step how to get done. In this simple tutorial I will show you how we can make our very own Signature Photoshop Brush where we can use it for watermark our Photograph.
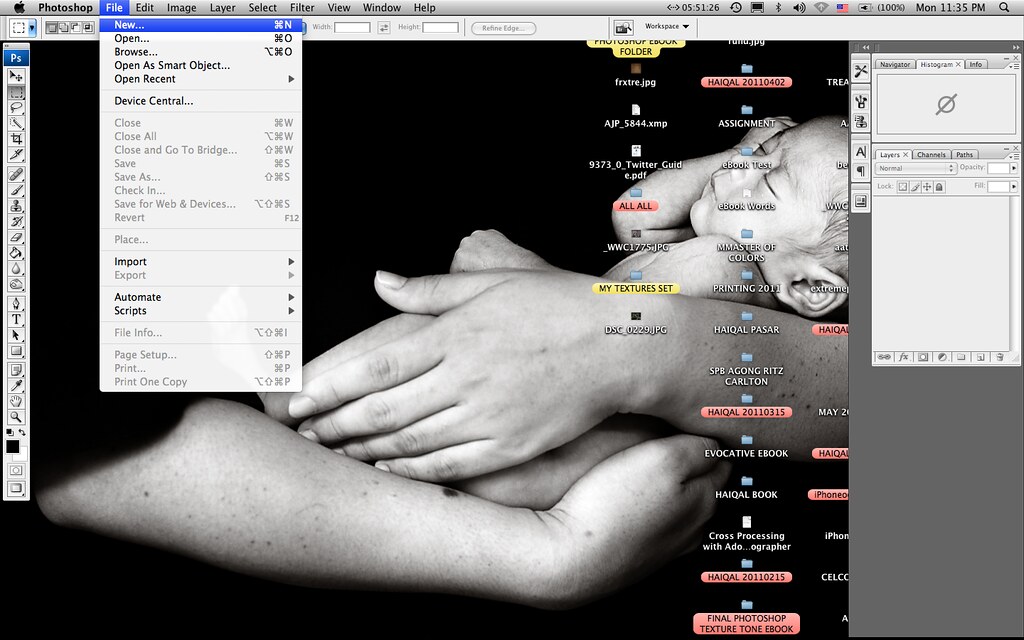
STEP 1 : Just make a New Layer, follow the step above.

STEP 2 : Adjust the Width of your canvas, you can make it small if you wish 500×500 Pixel but I choose 1000 x 1000, actually we just wanted to use small portion of the area but just follow this tutorial to get the ideas. Once you adjust the canvas size, then just rename it as My Signature or any name to your liking. Make sure it was on RGB and set the background color to White.
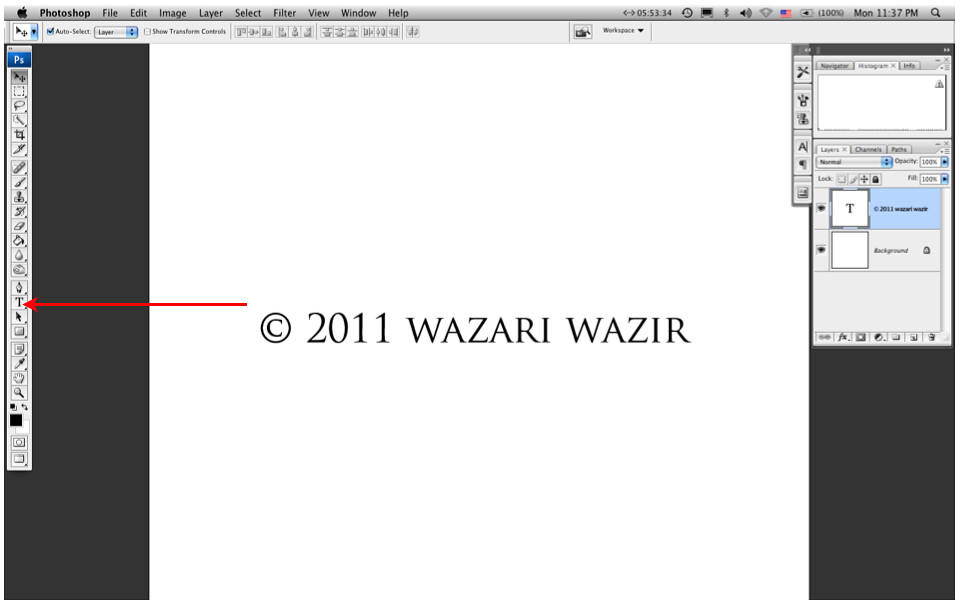
STEP 3 : Once you have your canvas, not it is the time to write your own name or maybe your company name, just go to the type tool with the symbol “T” in the toolbar and start typing your name. Make sure your foreground color is set to black.
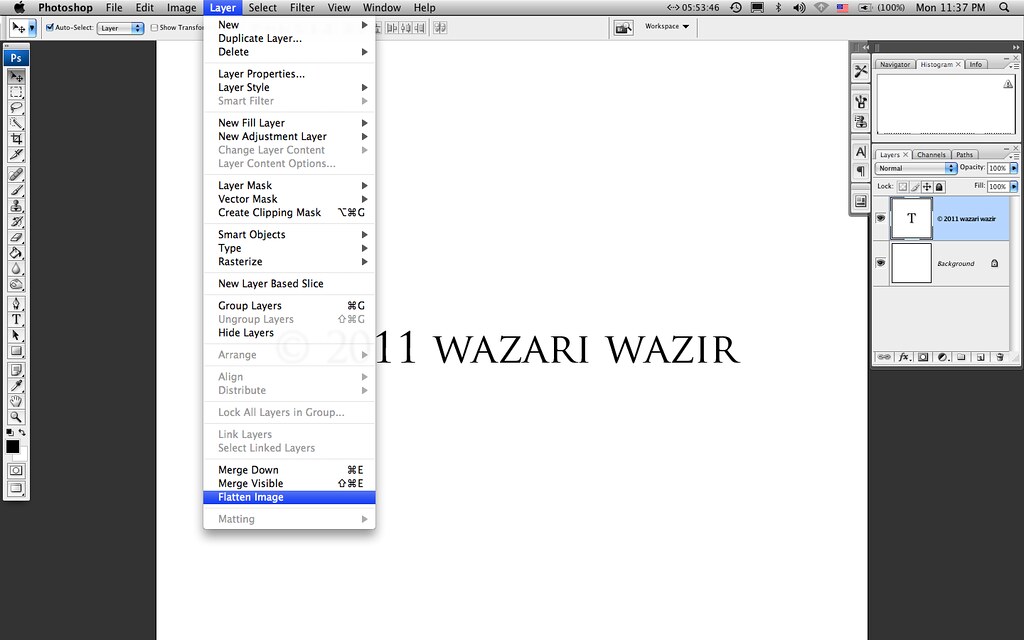
STEP 4 : When You’re done, the next step is to Flatten the layer, when you Type, Photoshop will automatically create a new layer on top of your existing layer, so now you have two layers. We need to flatten the layer, just follow the step above.
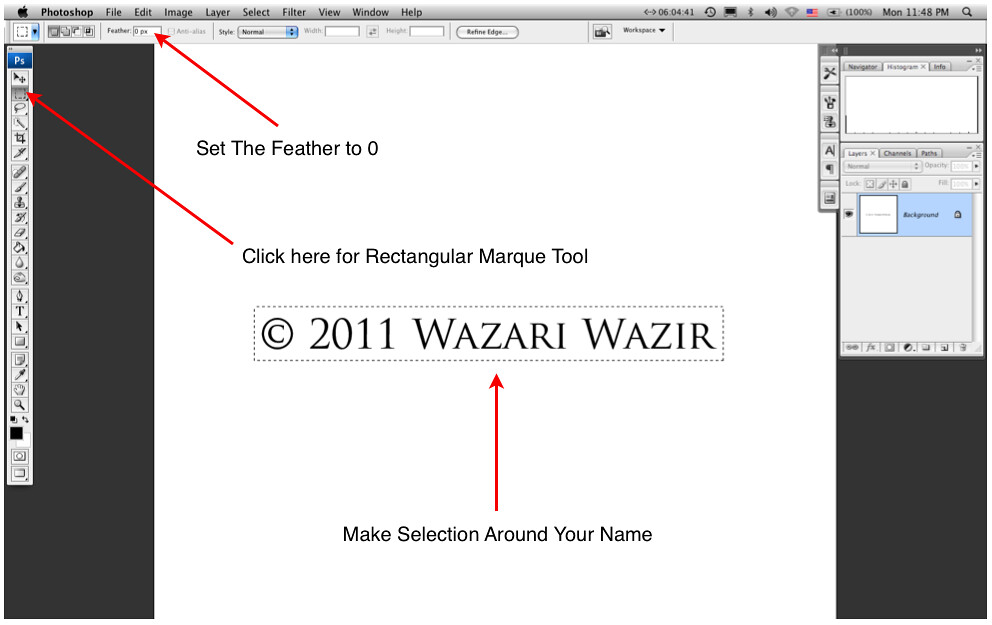
STEP 5 : Once the layer is flatten, we need top make a selection around your name, go to “Rectangular Marque Tool” or selection tool and make sure you adjust the feather to 0 and start make a selection around your name like the picture above.
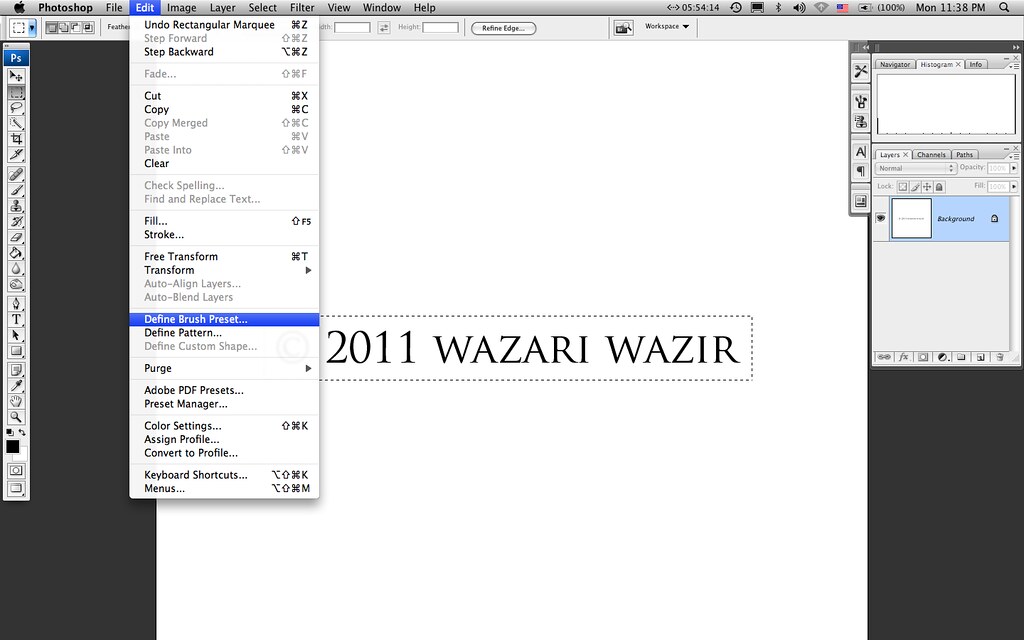
STEP 6 : The next step is, go to Edit > and choose from drop down menu “Define Brush Preset” just click that one.
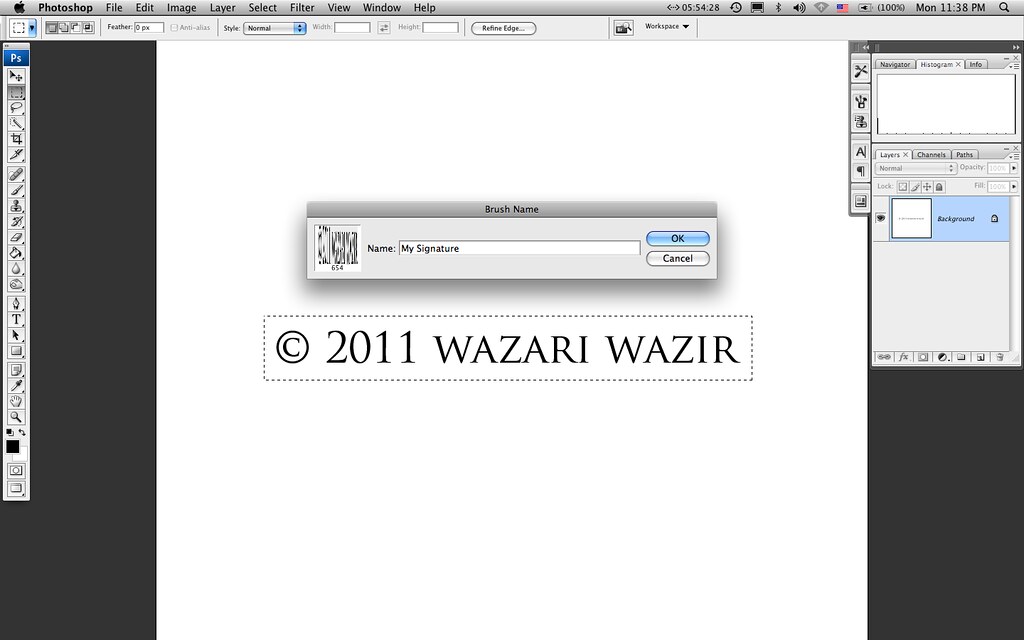
STEP 7 : You will get a New Dialogue box and just write your name there, this is your Brush name and click OK.

STEP 8 ” Next Step we need to locate where is Photoshop save your new brush preset, just click the Brush Tool in Photoshop Tool Bar.
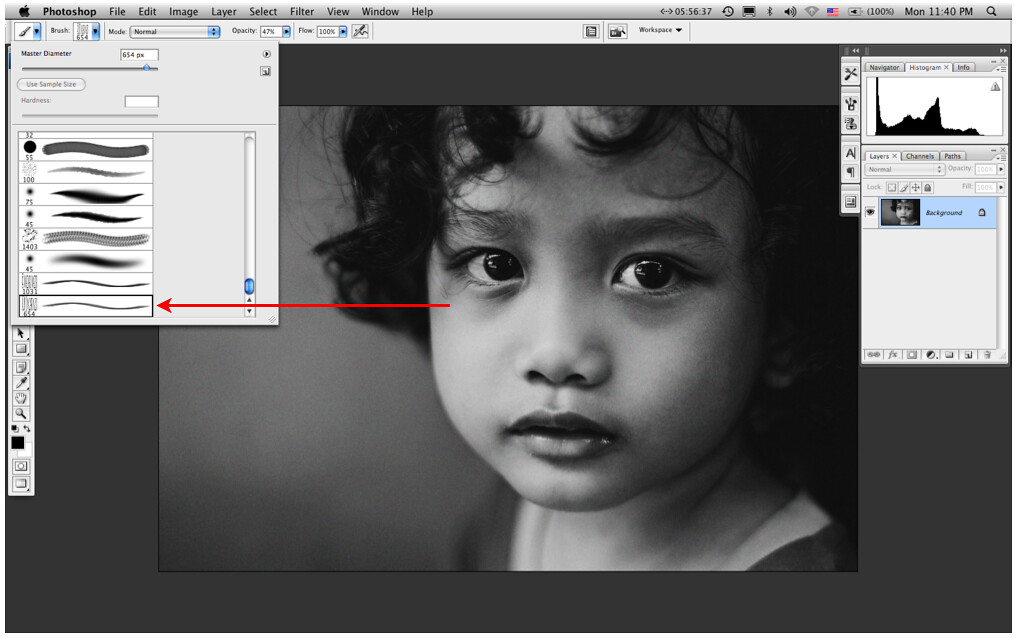
STEP 9 : Photoshop will save your new brush preset at the very bottom of your brush set, just click onto the Brush under menu bar there and scroll down to the bottom of your brush preset and you will find your own.
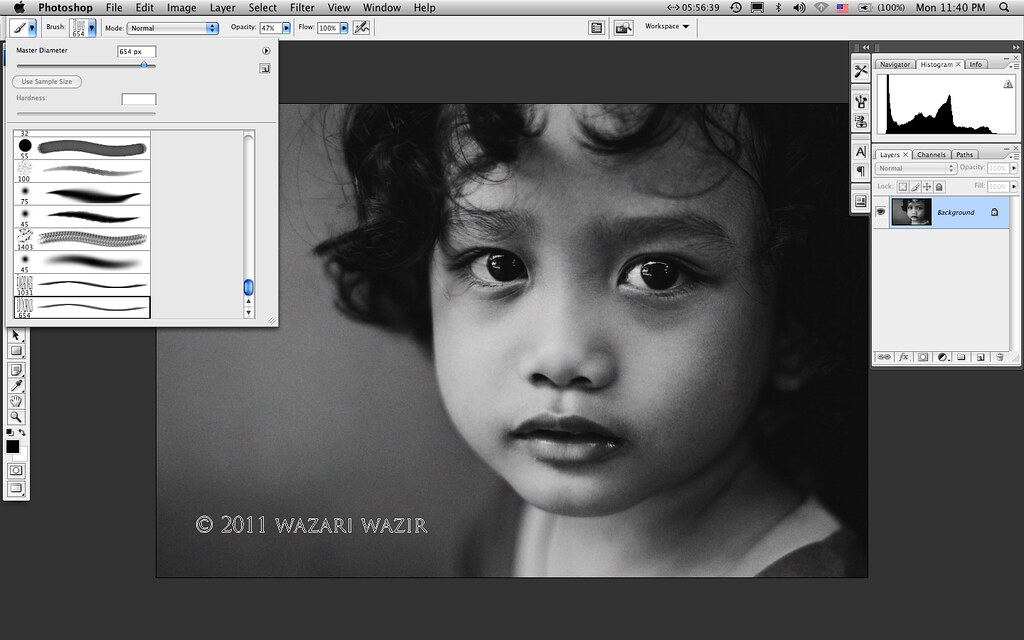
STEP 10 : Now you can open any picture that you want to put watermark and start paint it or simple stamp it with your new custom signature brush preset, you can change the color and the size of your brush just like any brush.
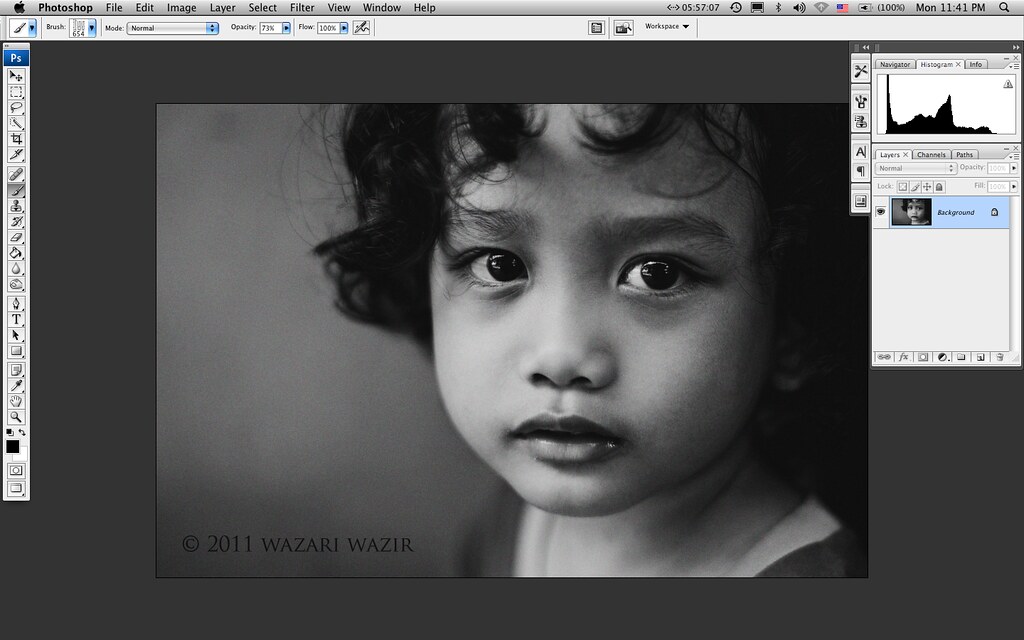
Finally you have your very own Signature Brush, you don’t have to create your brush each and every time you want to stamp your picture, just go to the brush preset, locate your brush and just stamp it. Don’t forget you can change the Opacity of your brush if you want it to be less hard or just wanted it to barely visible on your picture, just adjust the opacity from the menu bar above Have fun stamping…

Get The Secret HERE
One Comment
nazrey
time kasih bang…skrg da sng da nk wat watermark..da x perlukan photoscape..tq bang..