Portrait | Black and White Photography Tips
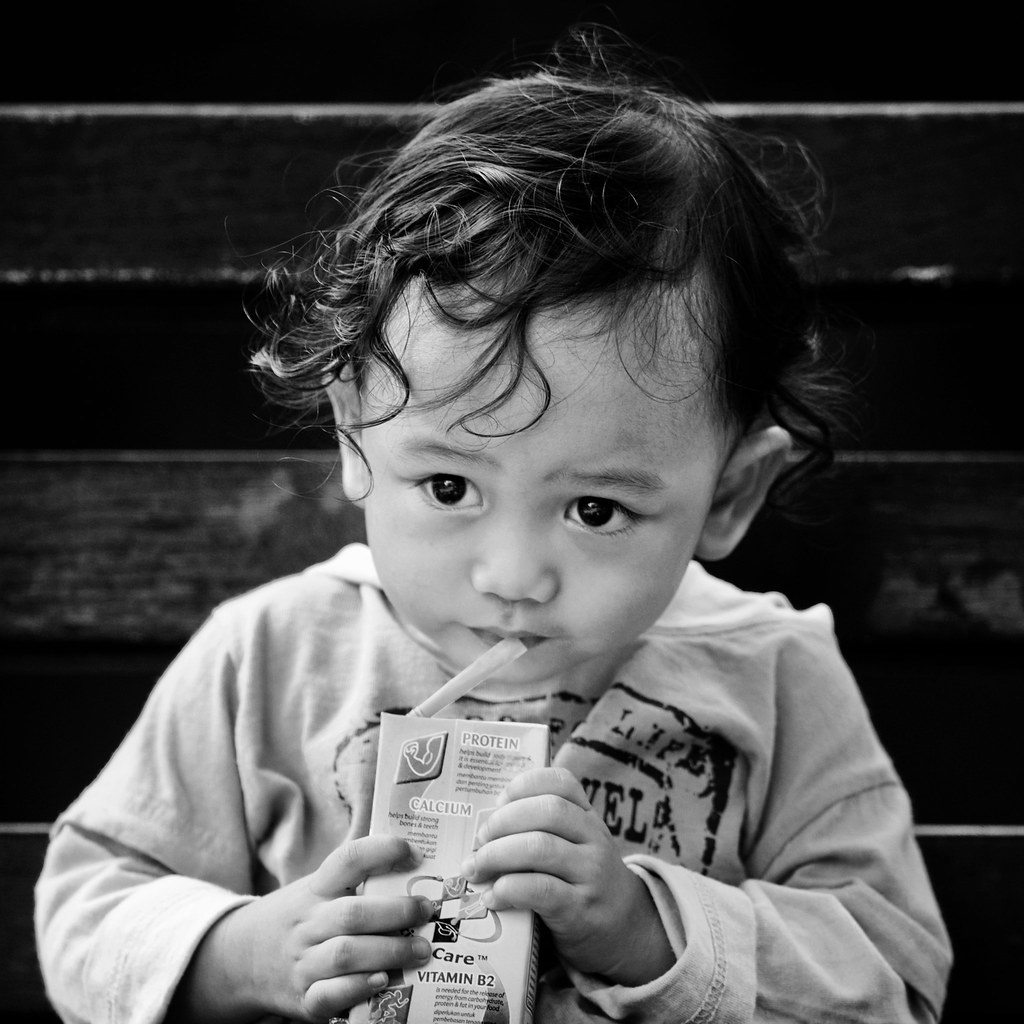
© 2009 Wazari Wazir | Portrait of My Son
Some people say, doing black and white is easy, I mean to convert from a color picture to black and white is a simple process as simple as A,B,C, it’s true, it’s very easy, just desaturate it or covert it into grey scale and you get black and white photograph, but to get a quality black and white photograph is not easy, at least for me, it was very easy for me to edit a color photograph than to edit a black and white picture.
A lot of people have ask me, how I do my black and white editing, I don’t use any plugs-in or action or any Photoshop preset, all done from scratch and all my pictures were taken in colors in the camera. In the beginning I used to use Grey Scale as a method to convert my color picture into black and white, sometimes I use a combination of “Duotone” in Photoshop, sometimes I just desaturate a color picture to get a black and white photograph, I’ve done and try it all. Some way are better than the other but after playing around with all kind of technique, I know that not all pictures will look great in black and white.
Some pictures are better in colors and just keep it that way while there are other kind of a pictures that look great in black and white especially in portrait, where we want to concentrate more on the expression than anything else, unless you want to show the beautiful colors of the clothes of the costume that a person wear, a beautiful colors of a traditional costume for an example, that kind of a picture, are better in colors than in black and white.
A photograph of my son above is simple, less colors and the background was quite dark because I take that picture in the garden and by using telephoto lens, I mange to blur the background with wide open aperture and keep the distraction to a minimum. The background is not black but but it was quite dark. My son HaiQal is wearing a yellow colored clothes and when I turn it into black and white, the yellow clothes produce a brighter color.
So, you might asking how do I convert my picture in black and white? Just like I’ve written before I’ve tried all kind of technique and lately I like to use a “channel”, I mean a Red, Green or Blue Channel in the layer palette. I will click onto any of the channel and see which one look great, usually I will pick Green Channel as my starting point, sometimes I use Blue Channel, each picture is different. Selecting which channel to use is just a starting point, it is not the end result.
Usually my black and white will look plain or flat, then I will copy the Channel that I like and paste it onto the top layer. After that I will duplicate the layer, the channel that I’ve selected. Now we have three layers. Bottom layer is color photograph, in the middle is black and white and the top layer is the same as the middle one, it is a copy of the middle layer. For those of you who have bought my Texture eBook will know how to copy “Channel”.
Usually I will blend the top layer with the middle layer with Multiply blending option, this blending option will make your picture look like under exposed, a dark area in the photograph will become darker, will become solid rich in black and white but the problem is sometimes it was too dark especially on the face, to adjust this problem, I will create a layer mask for the top layer and masking around the face, so my son face will not look too dark and leaving other part in the picture “underexpose” or darker than it was actually is.
The real secret is “Masking”, I use a lot of masking technique for all my black and white picture, there is no straight forward method to produce great black and white, jut like the old days where people use dodge and burn technique in the darkroom. The different is we do our editing in the “Lightroom”, I’m not using a “Lightroom” software, just we do our editing in the computer where we can see the result immediately. For those of you who are not familiar with “Masking” technique , try and learn how to use Layer Mask, that’s the real secret of editing, not just for black and white but for almost anything in Photoshop.
But then again, not all photograph will look great in black and white, we must try to train our eyes to see a photograph in black and white before we try to edit it in the Photoshop, otherwise we be will wasting our time doing black and white editing which will produce plain or flat looking black and white. If the picture is suitable or you get the right photographed, then the editing will be easy. Another thing is, I will not spent hours of my time doing Black and White editing when I know in the first place that a picture will not look good in black and white, I think if you have been doing editing for quite some times, you will know which one will work and which one will not work.
Sometimes experience will speed up the process. I learn my editing through trial and error and after trying few technique, I know which one is suitable for me, and what works for me may not work for you but it is good to know that there is more than one way of doing things, at least we have an option. I think the best technique is the technique that will produce great result in the less amount of time minus the plugs-in off course.

2 Comments
Nasuha
wow uncle wazari, this article is very informative.
i usually using the ordinary technique, like converting it straight to B & W , without undergoing the steps that you have mentioned.
great article. i will try to implement it in the future. 🙂
thank you.
Pingback: